The Cost of Converting a Shipping Container into a Liveable Space
- Container conversions often require more planning and labour than expected
- Early costs include foundations, framing, and structural reinforcements
- Services like plumbing and insulation push budgets beyond DIY expectations
- Council regulations add time, expense, and legal requirements to the build
Turning a shipping container into a home sounds simple enough. It’s a box, after all — just add insulation, a window or two, and maybe a composting toilet, right? Not quite. Across Australia, container conversions are gaining traction with people chasing more affordable or flexible living spaces. However, the real costs often come as a surprise to first-timers. It’s not just the container itself, but everything that comes after it: site prep, council permits, trades, and time. Whether you're looking for a backyard studio, a weekend retreat on rural land, or a full-time dwelling, understanding where the money goes is the key to making a smart build versus an endless project.
Understanding the Base Structure and What It Offers
The starting point, of course, is the container itself. Standard sizes include the 20-foot and 40-foot units, with high cube versions offering extra headroom. Some are sold as-is straight off the ship, while others are modified or refurbished for resale. This initial choice shapes the rest of your build. A unit in rough shape might be cheap, but rust patches, floor damage, or frame warping can lead to unexpected repair bills down the track.
Most containers are made from corten steel, which is designed to weather long-term exposure. But just because a container looks sturdy doesn’t mean it’s ready to become a home. Any container that has been retired from freight use will require a thorough cleanout at a minimum — some may have chemical residues or damage from spills. On the upside, they’re wind-tight, watertight, and structurally rigid when left uncut, which gives you a good shell to start with. But once you begin cutting into the walls for doors, windows, or skylights, you’re dealing with an entirely different beast in terms of stability and labour.
Foundations, Framing and Your First Major Expenses
This is where container conversions stop feeling like upcycled projects and start looking more like serious construction. Even if the unit itself is affordable, the moment it arrives on your property, you’ll need to consider proper foundations. Options range from concrete slabs to footings or piers, depending on soil conditions and whether you're in a flood-prone or bushfire-rated area.
Then comes the internal framing. Since the steel walls conduct heat and cold, you’ll need timber or steel studwork to hold insulation and wall linings. This step also sets the layout for windows, electrical points, and plumbing. Openings for doors and windows need to be cut with precision tools, and every cut weakens the container, so welding reinforcements are usually required. That means more labour, more materials, and often, more cost than people expect.
Some people buy new shipping containers at this stage to avoid retrofitting issues like rust removal, floor replacement, or correcting previous modifications. Starting with a clean, undamaged shell can reduce structural headaches later, especially if the container will bear extra weight from roofing, decks, or joinery. Still, used containers are a valid choice when the budget is tight — they just demand more prep work before anything else begins.
Fitting It Out for Power, Water and Comfort
Once the shell is stable and weatherproof, the next challenge is making it liveable, and that means utilities. Electrical wiring must meet Australian safety standards and be signed off by a licensed electrician. Plumbing's no different, especially if you’re connecting to a septic system or relying on water tanks and greywater recycling. These services can quickly add tens of thousands to your budget, depending on the location and the level of remoteness of the build.
Insulation is another big-ticket item. Containers tend to trap heat in summer and shed it quickly in winter, so standard batts usually aren't enough. Closed-cell spray foam is often used because it serves as both a vapour barrier and thermal layer; however, it’s expensive and requires a skilled installer. You’ll also need to account for wall thickness, as insulation reduces the already limited interior width.
Ventilation matters too. Without it, condensation builds up inside the walls, leading to mould and rust. Passive air vents, extractor fans, and double-glazed windows all help, but they need to be integrated into your layout from the beginning. In off-grid setups, solar panels and battery storage are popular, though upfront costs can be steep. For grid-connected sites, trenching and connection fees should be factored in early.
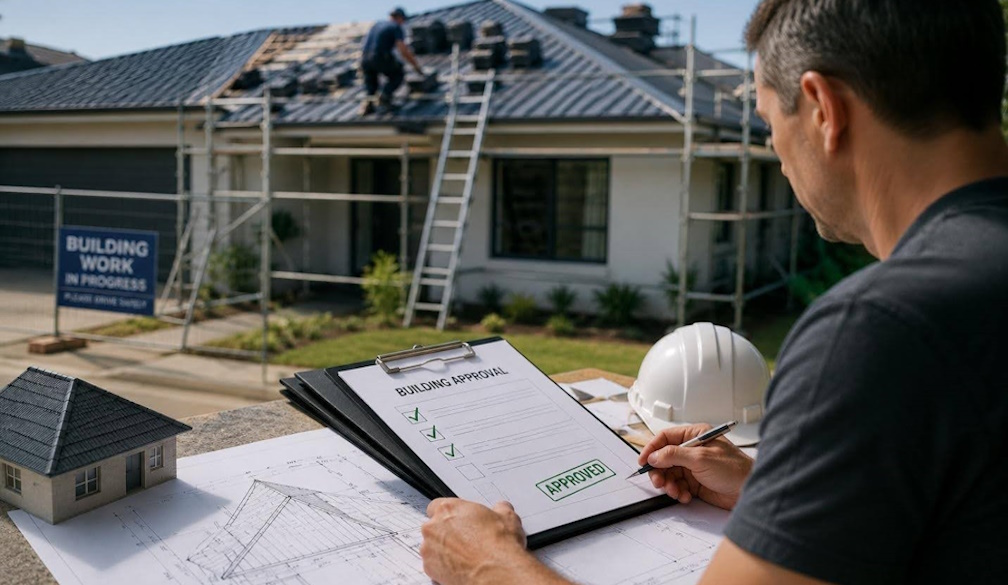
Council Regulations and Compliance Costs in Australia
Even if the structure is sound and the fit-out looks professional, you’re not home yet — literally or legally. Councils across Australia treat container homes differently, depending on the location and intended use of the structure. Some areas classify them as relocatable dwellings, while others classify them as permanent buildings requiring full certification. It’s critical to get advice before placing anything on site.
Site zoning can restrict what you’re allowed to build, and in bushfire-prone regions, you may need to meet BAL ratings that affect your choice of materials and finishes. In urban areas, height limits, boundary setbacks, and plumbing connections can all trigger planning delays. Many people skip this step and pay for it later with stop-work notices or expensive rectification orders.
Certification isn’t just about tick-box paperwork either. Engineers may need to assess the container’s structural modifications, especially if walls have been cut for stacking or extensions. You'll also need stamped plans from a building designer or draftsperson, as well as inspections at various stages of the build. These approvals come with fees — often in the thousands — and timelines that can span several months. Failing to account for these hurdles is one of the fastest ways a project can get stuck.
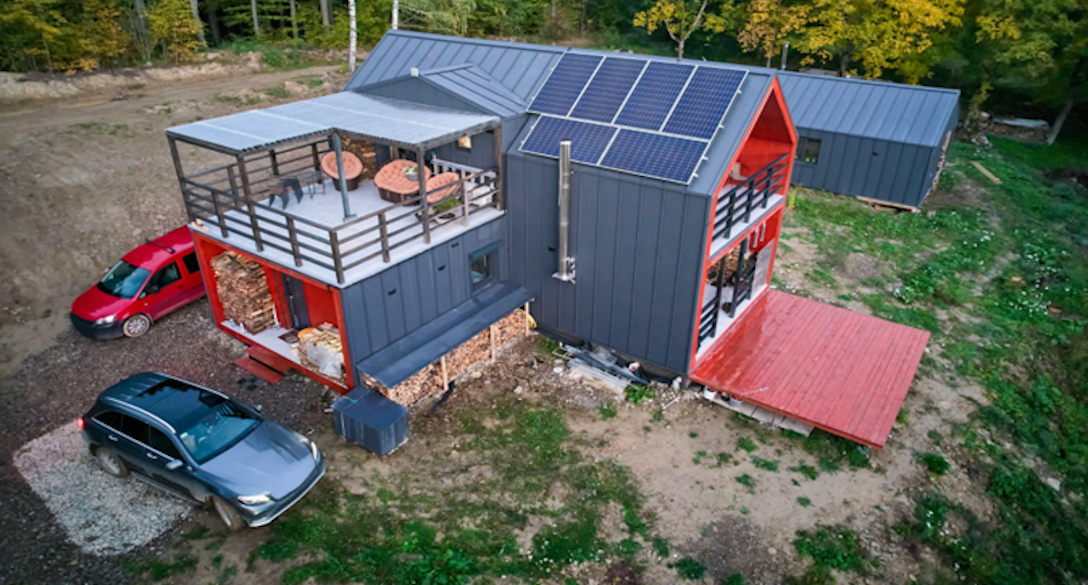
When It’s Done Right, What Does the Final Price Look Like?
By the time everything is in place — structure, services, approvals, and finishes — the total cost of a container conversion can surprise even seasoned DIYers. A single-container studio with basic fit-out might come in under $30,000 if you’re handy and already have a suitable site. But once you factor in plumbing, power, insulation, permits, and internal linings, costs rise quickly.
Professionally finished homes with multiple joined containers, council approvals, engineered reinforcements, and full kitchen and bathroom setups often push past the $100,000 mark. That still makes them cheaper than traditional homes in most parts of Australia, but they’re far from cheap alternatives. What you save in structure, you often spend in compliance and adaptation.
It’s also worth thinking long-term. A well-built container home will require ongoing maintenance, particularly with respect to paint protection, waterproofing, and any timber elements exposed to the elements. But the appeal remains strong — a custom footprint, shorter build time, and the flexibility to design around your needs. Done well, container conversions strike a solid balance between sustainability, cost, and