Steel Plate And Its Role In Modern Construction And Manufacturing
- Written by Modern Australian
A steel plate is one of those materials that quietly holds the modern world together. It does not demand attention, yet it supports bridges, buildings, machinery, vehicles, and countless industrial systems that operate every single day. Thick, flat, and immensely strong, a steel plate is valued for its ability to perform under pressure, resist deformation, and maintain structural integrity over time. From large-scale infrastructure projects to precise fabrication work, steel plate is trusted because it delivers consistency, reliability, and adaptability in equal measure.
What makes the steel plate so widely used is its balance of strength and workability. It can be cut, welded, shaped, and treated to suit specific applications without losing its core performance qualities. This flexibility allows engineers and builders to design with confidence, knowing the material will respond predictably across different environments and load conditions. In industries where failure is not an option, steel plate earns its place as a foundational material.
Understanding How Steel Plates Are Manufactured
Steel plate production begins long before it reaches a construction site or workshop. Raw iron ore is refined into steel, then processed through rolling mills to achieve the desired thickness and surface finish. Depending on the application, plates may be hot rolled or cold rolled, each method influencing strength, surface texture, and dimensional accuracy.
Hot-rolled steel plate is commonly used in structural and industrial projects where strength and durability matter more than surface finish. The high-temperature rolling process allows the steel to be shaped efficiently, producing plates suited for heavy-duty use. Cold-rolled steel plate, on the other hand, offers tighter tolerances and a smoother finish, making it ideal for applications that demand precision and a refined appearance.
Throughout the manufacturing process, strict quality controls are applied to ensure uniform thickness, chemical composition, and mechanical properties. This consistency is what allows a steel plate to be specified with confidence in engineering designs, where even minor variations can have significant consequences.
Why Steel Plate Is Essential In Structural Applications
In construction and infrastructure, steel plates play a critical role in load-bearing systems. It is commonly used in beams, columns, base plates, and reinforcement components that must support immense weight over long periods. The material’s high tensile strength allows structures to span greater distances and withstand dynamic forces such as wind, traffic, and seismic activity.
The steel plate also performs exceptionally well in demanding environments. It can be treated or alloyed to improve corrosion resistance, making it suitable for coastal projects, industrial facilities, and outdoor installations exposed to the elements. This durability reduces maintenance requirements and extends the lifespan of structures, offering long-term value for builders and asset owners alike.
Beyond strength, the steel plate provides design freedom. Its predictable behaviour under load allows engineers to optimise structures without excessive material use, supporting more efficient and sustainable construction practices.
Applications Across Manufacturing And Industry
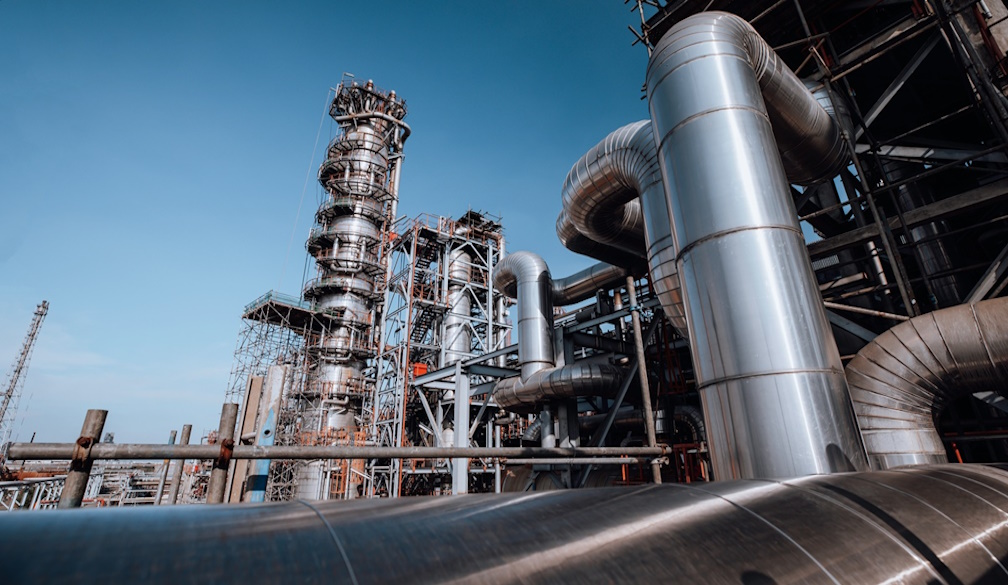
Manufacturing relies heavily on steel plates for machinery, equipment frames, tanks, and enclosures. Its ability to be cut and fabricated with precision makes it ideal for creating components that must fit together seamlessly while enduring constant use. In heavy industries such as mining, transport, and energy, steel plate forms the backbone of equipment designed to operate in harsh conditions.
The automotive and transport sectors also depend on steel plates for chassis components, trailers, and structural reinforcements. Its impact resistance and fatigue strength help protect both cargo and operators, contributing to safer, more reliable systems. Even in smaller-scale fabrication, steel plate is favoured for custom projects where strength and stability are non-negotiable.
Precision Cutting And Fabrication Matter
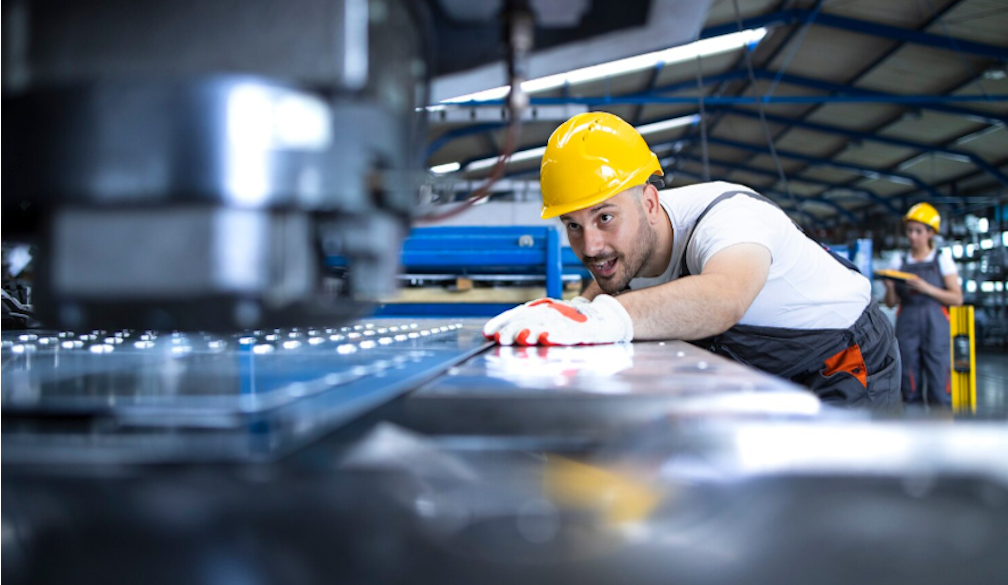
While the quality of the steel itself is crucial, how it is processed can be just as important. Accurate cutting and fabrication ensure that the steel plate performs as intended in its final application. Modern cutting methods allow for clean edges, tight tolerances, and minimal material waste, improving both performance and efficiency.
Professional steel suppliers understand that every project has unique requirements. By offering cutting and processing services alongside material supply, they help ensure that the steel plate arrives ready for use, saving time and reducing on-site work. This integrated approach supports smoother project timelines and more predictable outcomes.
Choosing The Right Steel Plate Supplier
Selecting a reliable supplier is about more than just availability. It involves trust in material quality, technical knowledge, and service capability. A reputable supplier provides clear specifications, consistent stock, and expert guidance to help customers choose the right steel plate for their application.
Australian Steel, for example, focuses on supplying high-quality steel products supported by industry experience and professional processing services. This combination ensures that clients receive materials that meet both performance and compliance standards, whether for large infrastructure projects or specialised fabrication work.
The Long-Term Value Of Steel Plate
Steel plate continues to be a cornerstone of modern industry because it delivers long-term value. Its durability reduces replacement and repair costs, while its recyclability supports more responsible material use. Steel can be reused and reprocessed without losing strength, making it a smart choice in an era increasingly focused on sustainability.
As industries evolve and projects become more complex, the demand for dependable materials grows. Steel plate meets that demand not through novelty, but through proven performance. It is a material built on fundamentals, trusted because it works, project after project, structure after structure.


