Setting Up the Perfect Home Studio for Drummers
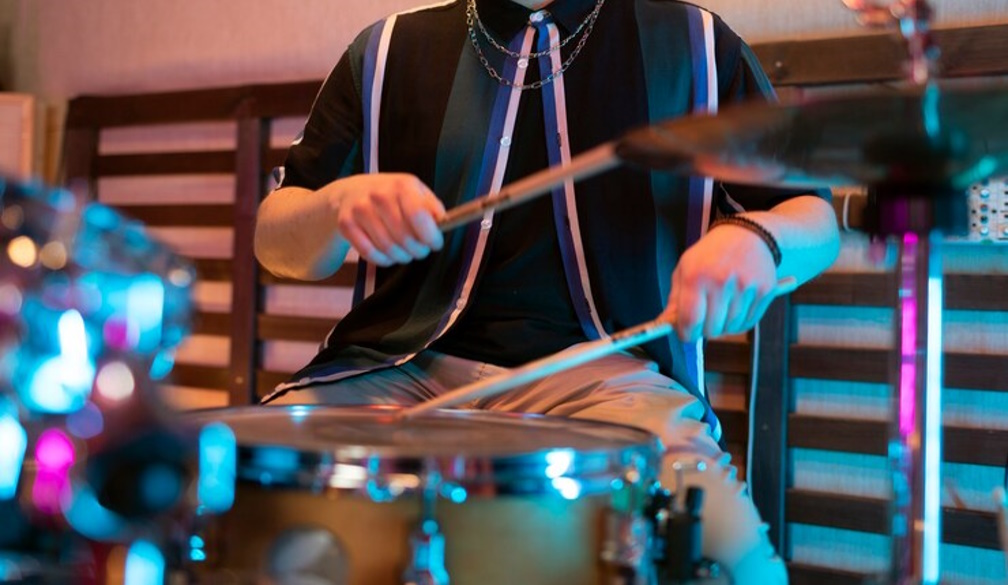
Creating the perfect home studio for drumming is a fulfilling project that goes beyond just having a space to practice. A well-designed studio can amplify your creativity, refine your technique, and even enable professional-level recordings. Let’s dive deeply into every aspect you need to consider, ensuring you get the best possible setup for your needs.
Choosing the Right Space
The room you choose for your studio sets the foundation for everything else. Consider size, location, and how well it can contain sound.
Room Size and Location
Space for Movement: Choose a room that allows enough space for your drum kit, additional gear, and free movement. A cramped setup can restrict your play and recording quality.
Isolation: opt for a room away from high-traffic areas or neighbours to minimize disturbances. Basements and detached garages are ideal.
Ceiling Height: Higher ceilings can create a more natural sound with less reflection, which is great for recording.
Soundproofing Your Studio
Soundproofing is critical to prevent noise leakage and maintain sound integrity within the room.
Why Soundproofing is Essential
Drumming produces loud, low-frequency sounds that can travel through walls, floors, and ceilings. Without soundproofing:
Neighbours may complain.
Recordings might pick up unwanted echoes or outside noises.
Vibrations can travel, causing structural disturbances.
Materials Needed for Soundproofing
- Acoustic Panels: These absorb sound waves to reduce echo.
Bass Traps: Essential for controlling low-frequency sounds, particularly from the kick drum.
Soundproof Foam: Ideal for walls and ceilings to dampen sound reflections.
Heavy-Duty Rugs: Placed under the drum kit to reduce vibrations traveling through the floor.
DIY Soundproofing Tips
Seal Gaps: Use weatherstripping or acoustic sealants around windows and doors.
Isolate the Drum Kit: Place your drum kit on a riser with rubber padding to minimize floor vibrations.
Double Layers: Consider adding a second layer of drywall with sound-dampening materials like Green Glue in between.
Essential Equipment for a Drum Studio
Every great studio needs the right tools. From the drum kit itself to accessories, here’s what you should focus on.
Drum Kits: Acoustic vs. Electronic
Acoustic Drum Kits
Best For: Natural feel and dynamic sound.
Downside: Require more soundproofing and space.
Best For: Compact spaces and adjustable volume levels.
Pro Tip: Look into models with mesh heads for a realistic feel.
Drum Throne and Hardware Essentials
A sturdy drum throne is vital for posture and comfort during long sessions. Ensure it’s adjustable to suit your height. Don’t overlook:
Hi-Hat and Bass Pedals: Invest in durable options for consistent performance.
Cymbal Stands: Choose double-braced stands for added stability.
Microphones for Recording
High-quality microphones in music studio hire gold coast make a huge difference in capturing your sound. Consider:
Overhead Mics: Capture the cymbals and overall drum sound.
Dynamic Mics: Ideal for the kick drum and snare due to their ability to handle high sound pressure levels.
Optimizing Acoustics
Even with soundproofing, acoustics play a major role in achieving a polished sound.
Placement of Soundproof Foam
Strategically place foam panels on:
Walls directly opposite the drum kit.
Corners to control bass frequencies.
Ceilings to reduce overhead reflections.
Using Rugs and Curtains for Better Acoustics
Thick area rugs under your kit can reduce floor reflections.
Heavy curtains over windows can dampen reflections while adding a cozy vibe to your studio.
Setting Up the Drum Kit
Proper placement and ergonomics are key to a productive practice and recording session.
Proper Positioning for Comfort and Efficiency
Kick Drum: Align it with your dominant foot.
Snare Drum: Position slightly below waist height, tilted toward you.
Toms and Cymbals: Keep them within easy reach to minimize strain.
Accessories for Practice and Performance
Drum Dampeners: Reduce overtones and create a cleaner sound.
Metronome or Click Track: Essential for improving timing.
Adding Recording Gear
Recording gear transforms your studio into a professional space for creating high-quality audio.
Audio Interfaces and Mixers
Audio Interface: Connects your microphones to your computer. Look for models with multiple inputs for full drum kits.
Mixer: Offers control over individual drum channels, letting you tweak levels and effects during recording.
Choosing the Right Recording Software
Beginner-Friendly Options: GarageBand (Mac) and Audacity (PC) are simple and free.
Advanced Options: Logic Pro X and Pro Tools offer more features for professional editing.
Microphone Placement for Best Sound Capture
Overheads: Position them above the kit in an “XY” or “spaced pair” configuration for stereo sound.
Kick Drum Mic: Place it slightly inside the drum, angled toward the beater.
Snare Drum Mic: Keep it 1-2 inches above the drum, angled toward the centre.
Lighting and Ambiance
Lighting can influence mood and productivity.
Importance of a Well-Lit Space
Ensure the space has enough natural or artificial light to reduce eye strain.
Use adjustable lighting for different moods—brighter for recording, dimmer for jamming.
Adding Personal Touches for Inspiration
Posters of your Favorite drummers or bands.
LED lights that sync with your beats for a visually immersive experience.
Storage and Organization
A tidy studio keeps your creative flow intact.
Keeping Your Studio Clutter-Free
Wall-mounted racks for drumsticks and accessories.
Rolling carts for microphones, cables, and sheet music.
Organizing Drumsticks, Sheet Music, and Accessories
Label bins or drawers for easy access, and keep backups of essentials like drumsticks and heads.
Practicing in a Home Studio
Maximize your practice sessions with these tips.
Setting a Practice Routine
Dedicate specific times for practice and stick to them. Use apps to track your progress.
Warm up with rudiments before diving into full songs.
Using Headphones for Quiet Practice
Noise-isolating headphones let you play at any hour without disturbing others. Look for models designed specifically for drummers.
Upgrading Your Studio
As your skills grow, your studio should evolve with you.
Expanding Gear as You Grow
Add triggers to your acoustic kit for hybrid setups.
Invest in additional cymbals or percussion instruments.
Investing in Advanced Equipment
High-quality studio monitors for accurate sound playback.
Advanced preamps for better microphone performance.
Safety Tips for Drummers
Protecting Your Hearing
Drumming is loud, and prolonged exposure can lead to hearing loss. Always wear earplugs or noise-cancelling headphones.
Ergonomic Setups to Avoid Injuries
Adjust your kit to prevent overextension of your arms and legs.
Take regular breaks during practice sessions to avoid strain.
Conclusion
A home studio is more than a space—it’s your creative sanctuary. By thoughtfully selecting your room, soundproofing, and investing in quality gear, you’ll have a setup that’s not only functional but inspiring. Start small, optimize over time, and enjoy the freedom of drumming on your terms.
FAQs
What’s the best room size for a home drum studio?
A room of at least 10x10 feet is ideal for a full drum kit and recording setup.
Do I need to soundproof if I use electronic drums?
While electronic drums are quieter, soundproofing can still help with vibrations and improve acoustics.
What’s the best way to reduce vibrations?
Use a drum riser with foam padding and thick rugs under your kit.
Which microphones are best for drum recording?
Dynamic mics for snare and kick drums; condenser mics for overheads.
How much does it cost to set up a home drum studio?
Costs vary, but a basic setup can start at $500 and scale up as needed.


