Painting like a pro: how to properly apply nail polish
- Written by NewsServices.com
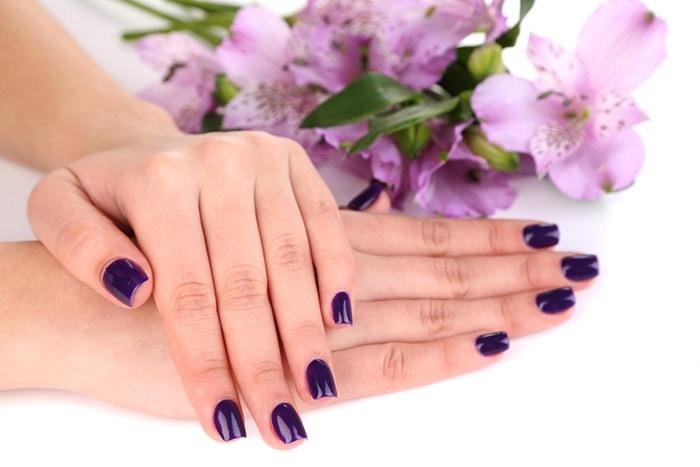
First thing’s first: DO NOT start painting until you have purchased high quality nail polish. Sure, you may be tempted to pick up a cheap option from your local chemist, but cheap options are much harder to apply and, naturally, look terrible!
Buying cheap nail polish is nothing but a false economy, whereas a good quality nail polish will provide numerous long-lasting treatments.
So, now you know that you need the best quality when you buy nail polish online in Australia, there are six extra items you need to always do the best treatment.
These are:
-
Nail file
-
Nail clippers
-
Nourishing base coat
-
A slim brush
-
Top coat
-
Nail varnish remover
So, let’s get onto the process of applying nail polish like an absolute pro:
Step one: Prepping your nails for polishing
The first thing to do is remove any trace of old nail varnish. Next, use a nail file to clip and shape your nails to reach your desired shape - you can find endless tutorials for this on YouTube. If necessary, lightly push back your cuticles with a cuticle stick - this can help provide an even finish. When you are satisfied with the shape of your nails, wash your hands in warm water and dry carefully.
Step two: Apply your base coat
Unfortunately, people often skip this step, but it is vital to ensuring your nails are properly prepped for polishing. You only require a single coat, and this coat should be as thin as possible. To make this happen, vigorously shake your bottle, wipe your brush on the bottle’s side, and then apply the base coat in three strokes: one stroke down the middle of the nail, and then one on either side of the nail (until it is completely covered!). Allow your nails to completely dry.
Step three: Apply your chosen nail polish
This is the fun part, the part where your desired colour starts to take shape. Shake the nail colour for a good few seconds, before removing the brush and wiping one side of it on the bottle, removing as much varnish as physically possible from that side.
Use the other side of the brush to do the following:
-
Place the brush in the centre of the nail roughly 2mm from its cuticle.
-
Push the brush down towards the cuticle to place the nail polish as close as possible - try not to touch the skin.
-
Stroke the brush up towards the nail’s tip in an even, smooth line.
-
Place the brush in the exact same starting position. However, this time, curve it to match the cuticle’s shape as you glide upwards towards your nail’s tip.
-
Repeat this process on the other side of the nail to provide the nail with full polish coverage.
-
Finally, leave the first coat to fully dry before applying a second coat using the exact same method. Leave your nail to dry completely before moving onto…
Step four: Clean up!
You want to ensure a clean finish between your cuticles and your nail polish by using a round-tipped makeup brush that has been dipped in nail varnish remover - these will remove any uneven, unsightly edges.
Note: Dab your brush on some paper towel before applying the brush to the nails. This will help remove excess varnish remover. This step can really help the overall look of the nails, and shouldn’t be overlooked!
Step five: Apply your top coat
Apply a thin layer of quick-drying top coat to give your nails a freshly painted, salon gloss.
Step six: Finish up with cuticle oil
Finally, add a quick drop of cuticle oil to each of your nails and lightly massage it in to restore moisture levels. Now, you can see your awesome new nail treatment!
g


